Expose K3d & Local Services with SSH Tunnels
Expose K3d & Local Services with SSH Tunnels
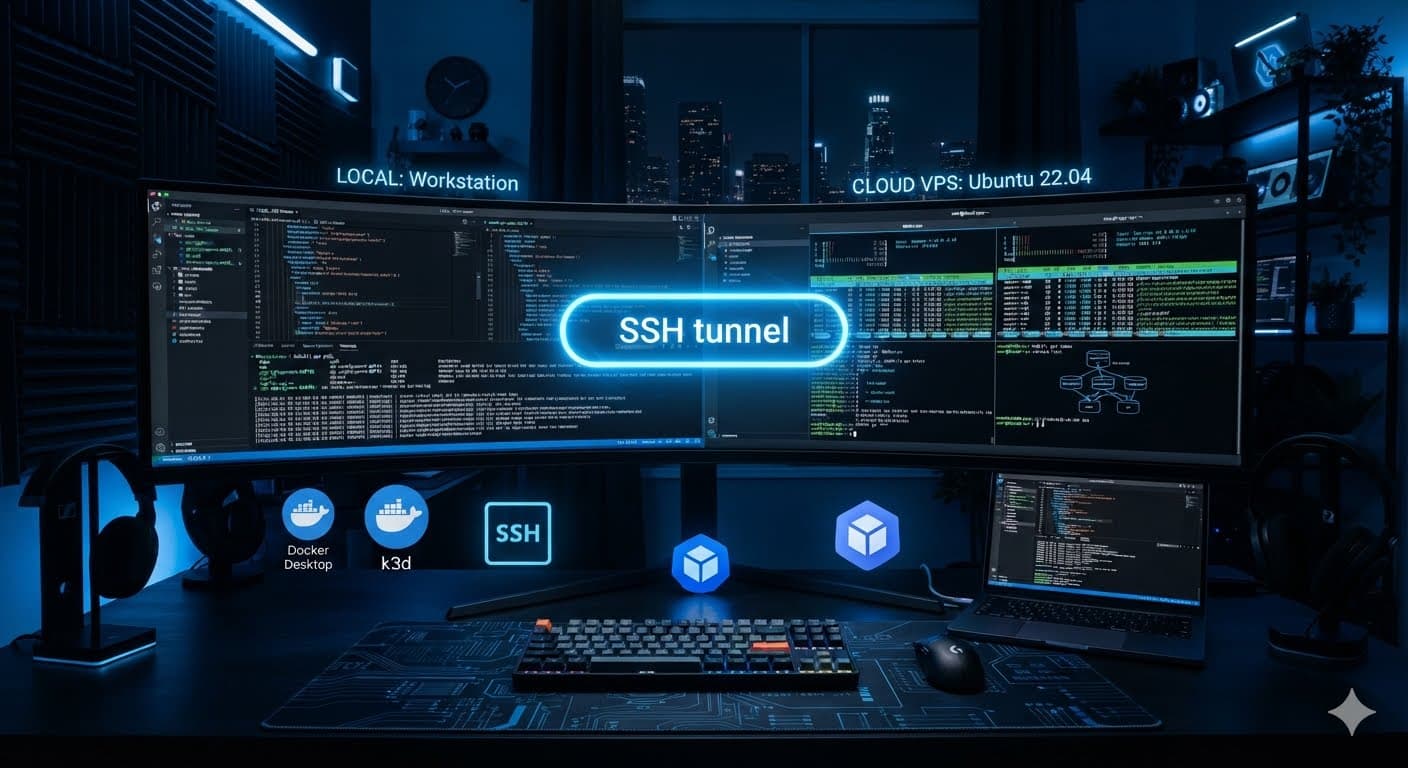
If you develop with k3d, Docker Desktop, or other local Kubernetes setups, you have likely run into networking friction when trying to share or access services behind NAT or CGNAT.
VPN mesh tools like Tailscale or WireGuard are incredible, but they can sometimes create routing conflicts, interface overlaps, or DNS quirks with local container runtimes.
An SSH Reverse Tunnel powered by a lightweight public VPS is a clean, reliable, and battle-tested alternative. It securely routes external traffic down to your local ports without modifying router firewalls or container bridge networks.
This guide walks through the complete production-grade setup: key management, reverse tunnel patterns, persistent automation with autossh and systemd, and a full diagnostic runbook.
Configuration Variables & Placeholders
Replace the following placeholders throughout this guide with your actual environment details:
| Placeholder | Description | Example |
|---|---|---|
<LOCAL_USER> | Your username on your local development machine | developer |
<VPS_USER> | The non-root user account on your remote VPS | tunneluser |
<YOUR_VPS_IP_OR_DOMAIN> | The public IP or domain name of your VPS | vps.example.com or 203.0.113.10 |
<REMOTE_PORT> | Port exposed on the VPS | 8080 (Web) or 2222 (SSH) |
<LOCAL_PORT> | Port your service listens on locally | 8080 (k3d/Web) or 22 (SSH) |
Conceptual Architecture
1. The Key Authentication Model
A common point of confusion is where private and public keys belong. The SSH connection is initiated outbound from your local workstation to the VPS.
- Private Key (
id_ed25519): Stays strictly on your Local Machine. Never copy this to the server. - Public Key (
id_ed25519.pub): Installed on the Remote VPS inside~/.ssh/authorized_keys.
LOCAL WORKSTATION (Client)                                REMOTE VPS (Server)
  │                                                          │
  ├── Private Key: ~/.ssh/id_ed25519 (NEVER LEAVES LOCAL)    │
  └── Public Key:  ~/.ssh/id_ed25519.pub ──────────────────► └── ~/.ssh/authorized_keys
                                                                 (Belongs to <VPS_USER>)
2. Reverse Forwarding Data Flow
Once authenticated, the local SSH client asks the VPS OpenSSH daemon to listen on a designated port.
[ External Client / Web Browser ]
               │
               ▼
  <YOUR_VPS_IP_OR_DOMAIN> : <REMOTE_PORT>
               │
   ┌───────────┴────────────────────────────────┐
   │ OpenSSH Encrypted Reverse Tunnel Transport │
   └───────────┬────────────────────────────────┘
               ▼
   Local Workstation : <LOCAL_PORT>
               │
               ▼
   [ k3d Ingress / Docker / Local Web Server ]
Step 1: Install Required Packages
Linux (Debian / Ubuntu / Raspberry Pi OS)
Run on both the Local Machine and the Remote VPS:
sudo apt update
sudo apt install -y openssh-client openssh-server autossh
macOS
brew install autossh

# Optional: Enable local SSH server for incoming workstation access
sudo systemsetup -setremotelogin on
Windows & WSL2
- Inside WSL2 (Recommended):
sudo apt update && sudo apt install -y openssh-client autossh
- PowerShell (Administrator):
Add-WindowsCapability -Online -Name OpenSSH.Client~~~~0.0.1.0
choco install autossh
Step 2: Configure the Remote VPS
By default, OpenSSH binds reverse tunnels only to the loopback interface (127.0.0.1). If you need the port to be reachable publicly over the internet, you must enable GatewayPorts.
- Log in to the VPS:
ssh <VPS_USER>@<YOUR_VPS_IP_OR_DOMAIN>
- Edit the OpenSSH Configuration:
sudo nano /etc/ssh/sshd_config
- Ensure these directives are active (uncommented):
GatewayPorts yes
PubkeyAuthentication yes
ClientAliveInterval 30
ClientAliveCountMax 3
- Validate Syntax and Reload:
sudo sshd -t && (sudo systemctl reload ssh || sudo systemctl reload sshd)
- Open Firewall Port (e.g., 8080):
sudo ufw allow 8080/tcp
Step 3: Configure Passwordless SSH Keys
Automated daemons running in background environments cannot respond to interactive password prompts.
1. Verify Your Local Username
Run this on your local machine:
whoami
Note: This is the user that will own the tunnel service.
2. Generate a Dedicated Ed25519 Key Pair
Run on your local machine (press Enter twice for an empty passphrase):
ssh-keygen -t ed25519 -f ~/.ssh/id_ed25519 -N ""
3. Copy the Public Key to the VPS
ssh-copy-id -i ~/.ssh/id_ed25519 <VPS_USER>@<YOUR_VPS_IP_OR_DOMAIN>
4. Enforce Strict Permission Bits
SSH will reject connections if permissions are too loose.
- Local Machine:
chmod 700 ~/.ssh
chmod 600 ~/.ssh/id_ed25519
chmod 644 ~/.ssh/id_ed25519.pub
- Remote VPS:
chmod 700 ~/.ssh
chmod 600 ~/.ssh/authorized_keys
5. Verify Authentication (The Crucial Test)
ssh -i ~/.ssh/id_ed25519 \
    -o PreferredAuthentications=publickey \
    -o PasswordAuthentication=no \
    <VPS_USER>@<YOUR_VPS_IP_OR_DOMAIN>
If you enter the VPS shell without a password prompt, key configuration is complete. Type exit to return.
Step 4: Reverse Tunnel Patterns
Pattern A: Expose a Web Service or k3d Ingress Publicly
This pattern forwards requests hitting http://<YOUR_VPS_IP_OR_DOMAIN>:8080 down to http://localhost:8080 on your machine.
autossh -M 0 -N \
  -o "ServerAliveInterval 30" \
  -o "ServerAliveCountMax 3" \
  -o "ExitOnForwardFailure=yes" \
  -i ~/.ssh/id_ed25519 \
  -R 0.0.0.0:8080:localhost:8080 \
  <VPS_USER>@<YOUR_VPS_IP_OR_DOMAIN>
Pattern B: Secure Private SSH Access via ProxyJump
Security Warning: Do not expose your local SSH port (
22) publicly via0.0.0.0:2222. It will be brute-forced immediately.
Instead, bind to the VPS loopback interface (127.0.0.1:2222) and jump securely through the VPS.
- Establish the Private Reverse Tunnel (Local Machine):
autossh -M 0 -N \
  -o "ServerAliveInterval 30" \
  -o "ServerAliveCountMax 3" \
  -o "ExitOnForwardFailure=yes" \
  -i ~/.ssh/id_ed25519 \
  -R 127.0.0.1:2222:localhost:22 \
  <VPS_USER>@<YOUR_VPS_IP_OR_DOMAIN>
- Configure Remote Laptop / External Client (
~/.ssh/config):
Host vps-jump
    HostName <YOUR_VPS_IP_OR_DOMAIN>
    User <VPS_USER>
    IdentityFile ~/.ssh/id_ed25519

Host dev-workstation
    HostName 127.0.0.1
    Port 2222
    User <LOCAL_USER>
    ProxyJump vps-jump
- Connect Directly from anywhere:
ssh dev-workstation
Step 5: Production Automation with systemd
To ensure your tunnel starts automatically on system boot and recovers instantly from network drops, run autossh under a systemd service on your local machine.
- Locate your
autosshbinary path:
which autossh
# Standard output is usually /usr/bin/autossh
- Create the unit file:
sudo nano /etc/systemd/system/autossh-tunnel.service
- Add the configuration:
(Ensure you replace
<LOCAL_USER>,<VPS_USER>, and<YOUR_VPS_IP_OR_DOMAIN>)
[Unit]
Description=Persistent SSH Reverse Tunnel Daemon
After=network-online.target ssh.service
Wants=network-online.target

[Service]
Type=simple
User=<LOCAL_USER>
Group=<LOCAL_USER>

# Prevents autossh from giving up if the network is down at boot
Environment="AUTOSSH_GATETIME=0"

ExecStart=/usr/bin/autossh -M 0 -N \
    -o "ServerAliveInterval=30" \
    -o "ServerAliveCountMax=3" \
    -o "ExitOnForwardFailure=yes" \
    -o "IdentitiesOnly=yes" \
    -o "StrictHostKeyChecking=accept-new" \
    -i /home/<LOCAL_USER>/.ssh/id_ed25519 \
    -R 0.0.0.0:8080:localhost:8080 \
    <VPS_USER>@<YOUR_VPS_IP_OR_DOMAIN>

Restart=always
RestartSec=10

# Security Sandboxing
ProtectSystem=full
ProtectHome=read-only
PrivateTmp=true

[Install]
WantedBy=multi-user.target
- Enable and Start:
sudo systemctl daemon-reload
sudo systemctl enable autossh-tunnel
sudo systemctl start autossh-tunnel
- Verify & Stream Logs:
sudo systemctl status autossh-tunnel
sudo journalctl -u autossh-tunnel -f
Step 6: Diagnostic & Troubleshooting Runbook
If the tunnel fails, use this decision tree to isolate the issue:
                                Tunnel Failing?
                                       │
        ┌──────────────────────────────┴──────────────────────────────┐
        ▼                                                             ▼
[ systemd Errors ]                                            [ SSH / Auth Errors ]
  • status=217/USER                                             • Permission denied (publickey)
    ↳ Match 'User=' to local `whoami`                             ↳ Run verbose check (-vvv)
  • status=203/EXEC                                             • Port binds to 127.0.0.1 only
    ↳ Confirm `/usr/bin/autossh` path                             ↳ GatewayPorts disabled on VPS
status=217/USER: TheUser=setting in.servicedoes not exist locally. Verify withwhoamiand update the unit file.Permission denied (publickey,password): The key was rejected. Run:
sudo -u <LOCAL_USER> ssh -vvv -o BatchMode=yes -i /home/<LOCAL_USER>/.ssh/id_ed25519 <VPS_USER>@<YOUR_VPS_IP_OR_DOMAIN>
Ensure permissions are 700/600 and the VPS authorized_keys file is correct.
-
Port not reachable publicly: Run
sudo ss -tulpn | grep 8080on the VPS. -
If it shows
127.0.0.1:8080, ensureGatewayPorts yesis set in/etc/ssh/sshd_configand SSH is reloaded. -
If it shows
0.0.0.0:8080, your cloud provider firewall (e.g., AWS Security Group, DigitalOcean Firewall) is blocking inbound TCP traffic. -
Zombie / Silent drops: Ensure
AUTOSSH_GATETIME=0,ServerAliveInterval=30, andServerAliveCountMax=3are configured so dropped links are detected within 90 seconds.
Security Best Practices Checklist
To ensure your tunnel architecture is production-ready, follow these final hardening steps:
- Avoid Root: Run
autosshunder an unprivileged local user, connecting to a dedicated non-root VPS account. - Lock Down the VPS User: Restrict the remote account in
/etc/ssh/sshd_configso it cannot spawn an interactive shell:
Match User <VPS_USER>
    AllowTcpForwarding yes
    X11Forwarding no
    AllowAgentForwarding no
    ForceCommand /bin/false
- Limit Public Exposure: Use
127.0.0.1remote bindings combined withProxyJumpfor administrative endpoints. Only expose0.0.0.0bindings for public-facing web services or ingress controllers. - Enforce Modern Key Algorithms: Use
ed25519keys rather than legacyrsakeys.
Enjoyed this article?
Discussion
No comments yet. Start the conversation!